
A sample can answer a packaging question only if it was made to answer that question. An unprinted box may prove that a bottle fits, yet reveal nothing about the appearance of a dark printed surface. A digitally printed mock-up can communicate the design beautifully while using a different process from the eventual production run.
That distinction matters when buyers approve custom rigid boxes. “Sample approved” sounds decisive, but it is incomplete unless the record identifies the sample, its construction and the decisions it supports. A better approach separates structural, visual and production approvals, then joins them in a clear release record.
Give Each Sample A Specific Job
Before requesting a sample, write down what is uncertain. Perhaps the lid is difficult to remove, the product needs more finger clearance or the brand wants to compare two wrapping papers. Those questions require different evidence and may be resolved at different stages.
Avoid treating sampling as a single presentation event at the end of design. An early inexpensive construction model can prevent an expensive printed revision. Conversely, repeatedly making blank boxes will not resolve a color dispute. Match the next sample to the next decision.
Ask the supplier to label the sample type in the quotation and explain any substitutions. Materials, printing, finishing and assembly can differ from the proposed production route. These differences are not automatically a problem, provided they are visible and the buyer does not approve beyond what the sample demonstrates.
Use A White Sample To Examine Structure
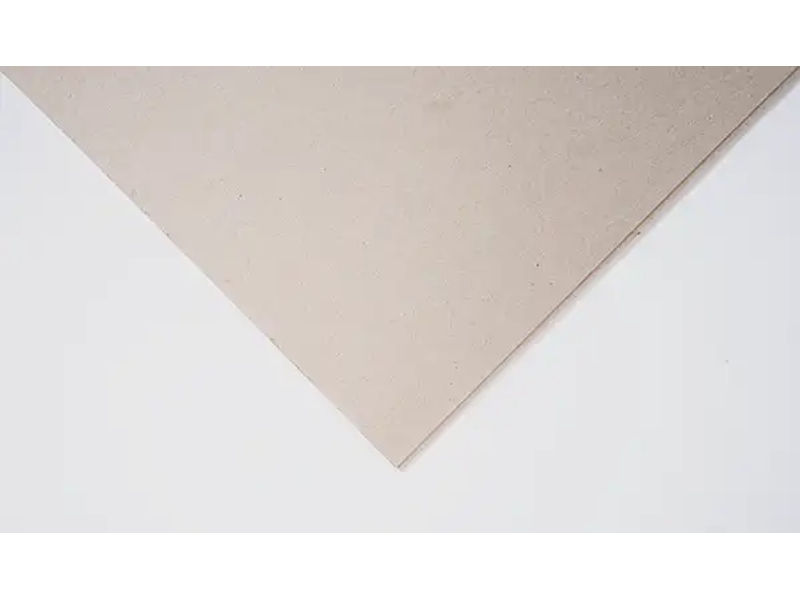
A white sample is generally an unprinted structural prototype. It helps the team handle the box, place the product inside, assess opening behavior and inspect the arrangement of components. Its strongest contribution is turning dimensions on a drawing into something people can use.
Supply actual product samples where practical. A bottle drawing may omit the widest point of a cap, a label seam or a small variation between production units. A product dummy is useful only when its dimensions, weight and critical surfaces represent the real item sufficiently for the intended check.
For a custom drawer rigid box, examine pull access, tray movement and how the product is removed. For a lid-and-base box, check the relationship between lid depth, fit and the opening experience. Record observations with the product loaded, rather than evaluating an empty box alone.
Know What A Structural Prototype Cannot Prove
A blank prototype does not establish final color, foil appearance or the wear behavior of a coated surface. It may also use temporary adhesive, a different wrapping paper or a hand-built construction. Ask which of these differences affect the decision you are making.
Even a convincing fit test has limits. If the prototype uses a substitute insert, its compression and recovery may differ from the final material. If the product dummy is lighter than the retail product, it cannot establish the loaded box’s handling behavior. List every unrepresented feature on the approval sheet and assign it a separate verification step.
A practical note might read: “Dimensions and compartment arrangement accepted; opening resistance to be checked on production materials.” That sentence protects the useful work already completed while preventing structural approval from being mistaken for complete manufacturing approval.
Use A Printed Sample To Review The Design
A printed sample helps people judge how the artwork relates to the physical object. Look at orientation, panel transitions, typography, logo placement and the sequence of information as the box opens. Read the wording on the sample rather than relying on a separate copy document.
Determine how the sample was printed. A digital prototype can be suitable for layout review even when the order will use offset printing. However, differences in ink, substrate and surface treatment may limit its role as a production color target. Ask the supplier what degree of color representation the sample is intended to provide.
Separate an appearance reference from a binding color standard. A printed mock-up may establish the correct shade family and design balance without representing the exact final surface. If color is critical, request an agreed proof or material-specific color approval appropriate to the production route.
Treat A Pre-Production Sample As A Defined Specification
The phrase “pre-production sample” is useful only when its meaning is agreed. Ideally, it represents the intended materials and processes closely enough to support release. In practice, suppliers may use the phrase for different stages, from a hand-made final prototype to an item taken from an initial production setup.
Ask which materials, tooling, inks, finishes and assembly steps match the quoted production order. Also ask which elements remain different. A sample produced before a finishing tool exists cannot demonstrate the final result of that tool, however attractive the temporary substitute may be.
For custom magnetic rigid boxes, check closure position and opening behavior together with the chosen paper and insert. Surface thickness and assembly details can affect how the finished package feels. Define what must be rechecked if a material changes after approval.
Compare Sample Types Without Mixing Their Purposes
| Sample Type | Strongest Use | Decision That May Still Be Open |
| Existing reference sample | Understanding workmanship and a general box format | Your product fit and custom artwork |
| White structural sample | Dimensions, compartment arrangement and handling | Printed appearance and final finish |
| Printed development sample | Artwork placement and the opening presentation | Process-specific color and wear behavior |
| Material or finish swatch | Comparing a particular paper, coating or decorative effect | Performance after wrapping and assembly |
| Defined pre-production sample | Checking the agreed combination before release | Any explicitly listed substitutions or untested conditions |
There is no requirement to buy every sample type for every project. A simple repeat order may need fewer stages than a new multi-product gift set. The purpose of the table is to keep an approval proportional to the evidence, not to make sampling unnecessarily complicated.
Build A Test Plan Around Real Use
List the actions the package must support: loading, closing, carrying, opening, removing the product and, where relevant, putting it back. Ask someone unfamiliar with the design to try these actions. Their hesitation can reveal problems that a designer no longer notices.
For a set containing a bottle and an accessory, observe whether removing one item disturbs the other. Check whether a finger notch is accessible with the lid open. Confirm that the insert does not obscure information the user needs and that a pull ribbon does not become trapped beneath the product.
Shipping tests require the complete planned shipping configuration. A retail gift box alone is not the same test item as that box inside a protective outer carton. Agree the test method, packing arrangement and acceptance criteria with the appropriate technical team. A hand-held shake check is useful feedback, but it is not a substitute for a defined distribution test.
Record Measurements Instead Of General Impressions
Replace comments such as “a little tight” with observations that can be acted on. Identify the component, sample number, product used and exact difficulty. Photographs or short videos can clarify movement and orientation, while measurements support dimensional changes.
Do not assign arbitrary tolerances simply to make the report look technical. Discuss achievable dimensions and inspection methods with the supplier. Measurements are most useful when both sides know the reference points, instrument and condition of the sample.
For an illustrative fit issue, a buyer might report that the cap touches the liner while the bottle body remains properly seated. The corrective discussion should examine the cap clearance and insert seating, not automatically enlarge the entire box. A targeted observation helps preserve already approved features.
Use A Sample Approval Record
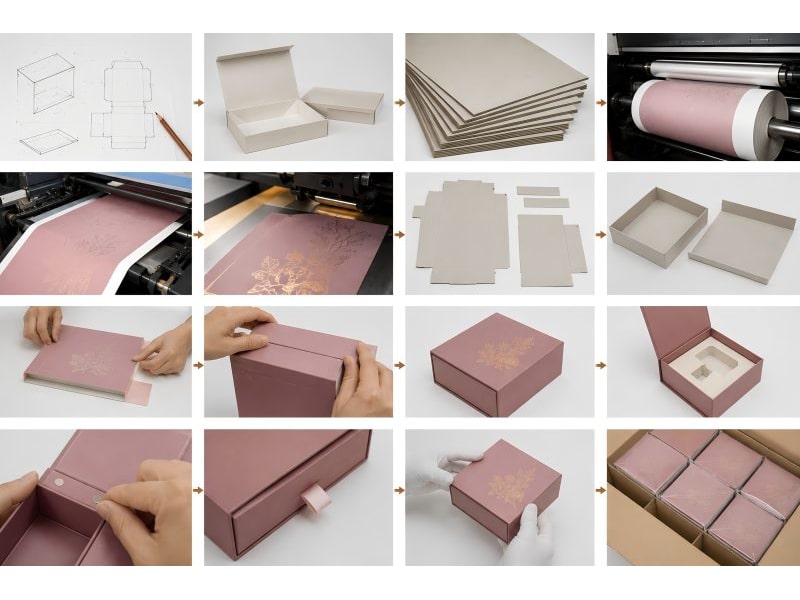
Create a one-page record that travels with the sample. Include its identifier, drawing revision, artwork revision, material list, date and the name of the person approving it. Attach photographs showing the components that matter.
| Approval Field | Example Of A Useful Entry |
| Sample identity | Project A, sample 03, received on the recorded date |
| Product reference | Filled bottle and cap revision supplied for testing |
| Approved aspects | Compartment position, lid depth and printed wording |
| Open aspects | Final coating appearance and transport validation |
| Required changes | Move the finger opening to the indicated side |
| Release condition | Revised sample and written sign-off required |
These are illustrative entries, not a completed Seven Rainbow inspection report. Adapt the form to the project. A short record that distinguishes accepted and unresolved points is more useful than a long checklist filled with unsupported ticks.
Control Revisions Between Samples
Keep a change log from the first prototype. When requesting the next version, identify what changes and what must remain unchanged. Otherwise, a correction to the lid may accidentally reopen the approved insert layout or artwork scale.
Remove superseded samples from the active approval area, but keep them identified for reference if needed. Mark them clearly as obsolete. A factory and a brand comparing different physical versions can argue for days while both believe they are discussing the same approved design.
When a revision affects several components, review the assembly as a whole. Changing the height of a shoulder can alter lid seating and the visible printed area. Replacing an insert material can alter fit even when the cutting outline stays the same. The change log should trigger the relevant checks again.
Plan Sample Time As Part Of The Order
Sampling time includes more than fabrication. There is time for technical questions, delivery, review and possible revision. Decide who will receive the sample and reserve time for their assessment before promising a production release date.
Ask the supplier which materials or finishing tools have long preparation periods. If a decision depends on them, place that decision early in the schedule. A sample made quickly from substitute materials may help one question while leaving the critical issue unresolved.
Keep sample charges separate from assumptions about the eventual order. Discuss whether a fee covers one version or several, what shipping arrangement applies and whether any credit is conditional on a later order. Record the actual quotation rather than treating a general website example as the terms for your project.
Keep An Approved Reference For Repeat Orders
Once the project is released, retain identified reference samples at the brand and production sides where feasible. Store them so light, moisture and handling do not unnecessarily alter the surfaces. Record when a reference is replaced or renewed.
A retained sample should work alongside written specifications. Physical references can age, and people can remember colors differently. For critical features, keep material descriptions, artwork files and agreed measurement information as well as the sample itself.
Before a repeat order, ask whether any component or manufacturing route has changed. A substitute paper, revised product cap or new finish may justify a focused resampling step. Repeating only the checks affected by the change can be more efficient than either blindly reordering or restarting the entire development process.
Request The Next Sample With A Clear Question
Prepare a short request containing the product reference, current drawing, artwork version and the decision the sample must support. State whether you need structural confirmation, visual review, material comparison or a defined production reference. Include the conditions that remain unresolved from the previous version.
Use the Seven Rainbow enquiry page to discuss the sample route for your box. Send the real product dimensions and intended use with the request, then ask the team to explain which materials and processes the proposed sample will represent. That information gives the eventual approval a precise and useful meaning.